
Looking to improve your real estate photography skills? Seek no further! This article covers all the important points to help you with the above.
The power of real estate photography in the housing market is undeniable. Stunning pictures of houses on sale can help bring in more potential buyers for agents.
So how can you as a photographer upgrade your real estate photography and bring it to the next level? Here is a compilation of some of the best ways to achieve this. Read on to learn more.
Interior
Before photographing the interior of the house, it is essential to send your clients a task list. This task list should contain all the details on how to prep/stage the rooms for the photo session.
Here are some details to include in this list-
- Clear the frame: Remove the unwanted things that are visible in your frame.
- Arrangement: Before clicking, make sure you have to re-arrange the furniture and remove wires for a perfect image.
- Props: Try to add some props like flowers or any decorative object to enhance the look of the place.
- Natural Light: Before starting the photoshoot, make sure there will be enough natural light in your place, and open all windows and curtains. This will create the illusion of a wider, more open space. It is important to seek out the best perspective of the room to create visual depth.
Facade
Similar to the interiors, the exteriors of the house should also be prepped and ready for the photo session.
- Cleaning: Make sure before starting the facade, clean up the entrance, and move cars and garbage bins out of the composition.
- Angles: The most important in real estate photography is to judge the best angle to capture the facade. Select the best angle, where you will get the most of the things covered in a single frame.
- Leveller/Distance: Make sure to place the camera on the tripod according to the bubble of the tripod. The distance of the facade should be equal to the height of the facade, which results the straight lines.
- Time to shoot: Always shoot the facade either early morning at the time of sunrise or late evening at the time of sunset because at this time you will get the best results in terms of highlights and shadows.
Lighting
Whether photographing interiors or exteriors, without correct lighting the pictures will make the property look unappealing. Hence, finding the best sources of natural or artificial light is important.
- Natural Light / Artificial Light: With lighting, you can create highlights and shadows to enhance the images. It’s up to you what exactly you want to show in the images or your client needs, but you have to make sure you have to use both of the lighting.
In case the natural light is not enough you can always turn on the room lights which may give the rooms a warmer glow. However, if the rooms are too dimly lit or you simply want more precise control over the lighting, you can also opt for artificial lighting. - Overexposed: If the natural light is directly coming from the window and makes the area overexposed then try to use some diffuser to make the perfect balance between indoor light and overexposed area light.
Types of equipment
- Full frame cameras: Full frame cameras are used in real estate photography to produce high-quality images of big spaces because they lack crop features.
- Wide angle lenses: 16-35mm or 17-40mm wide angle lenses are the perfect choices for real estate photography. They make rooms look spacious and add depth to them.
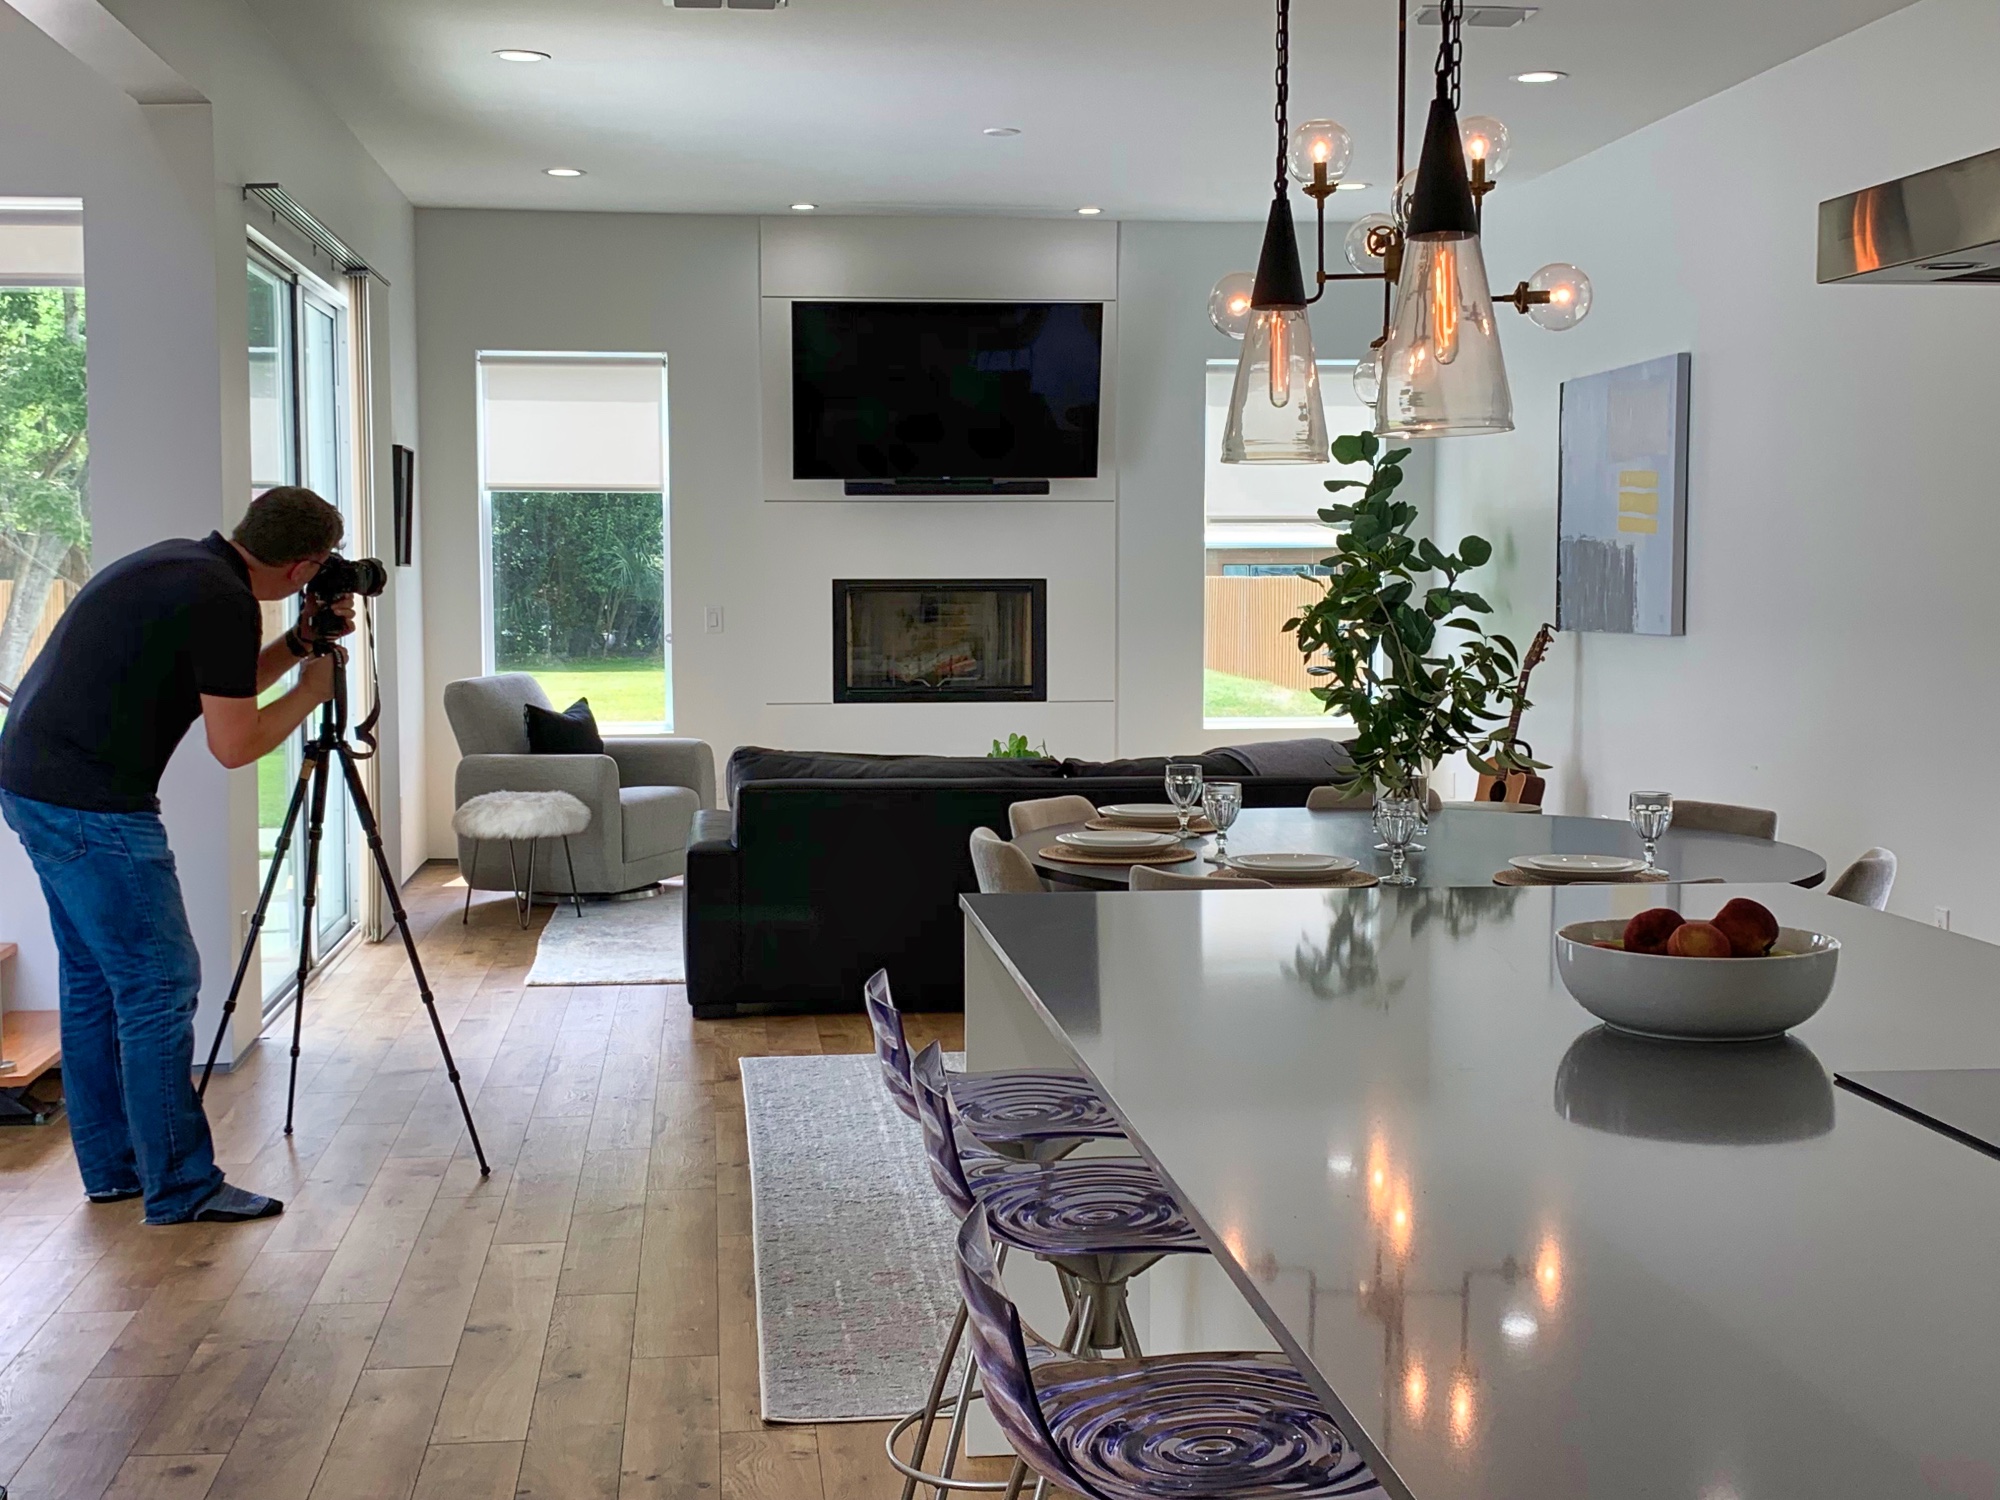
- Tripod: Using tripods allows the photographer to take sharp/clear images with clean lines. It also helps maintain camera levels and angles.
- Light stands: If you are using artificial lighting you will need to mount them on light stands. In addition to holding the light source, they can also be set up to illuminate certain areas with precision.
In conclusion, real estate photography has many different elements to it, so perfecting it may not be an easy task. The key is to not get intimidated or discouraged and to keep practicing and experimenting. We hope this concise yet informative article has served its purpose in helping you learn and improve!
Leave a Reply