
Want to perfect your food photography skills? Here are 4 tips and tricks to achieve that perfect shot!
It is imperative to preface this article by asserting that humans are 90% visual beings, and are biologically hardwired to pay attention to great visuals. Many of us are aware of the old English adage – “A picture is worth a thousand words”. Perhaps this applies most appropriately to the realm of food photography.
Simply put food photography is the art of enhancing the appeal of food items to generate customer interest. It highlights the culinary experience, by providing a visual preview of foods.
Today you walk into any restaurant, you will be presented with beautifully shot pictures of delicious-looking meals, while social media is flooded every day with the most stunning shots of food imaginable.
So, what are some tips and tricks people are using to achieve these perfect shots? Read on to find out.
Equipment
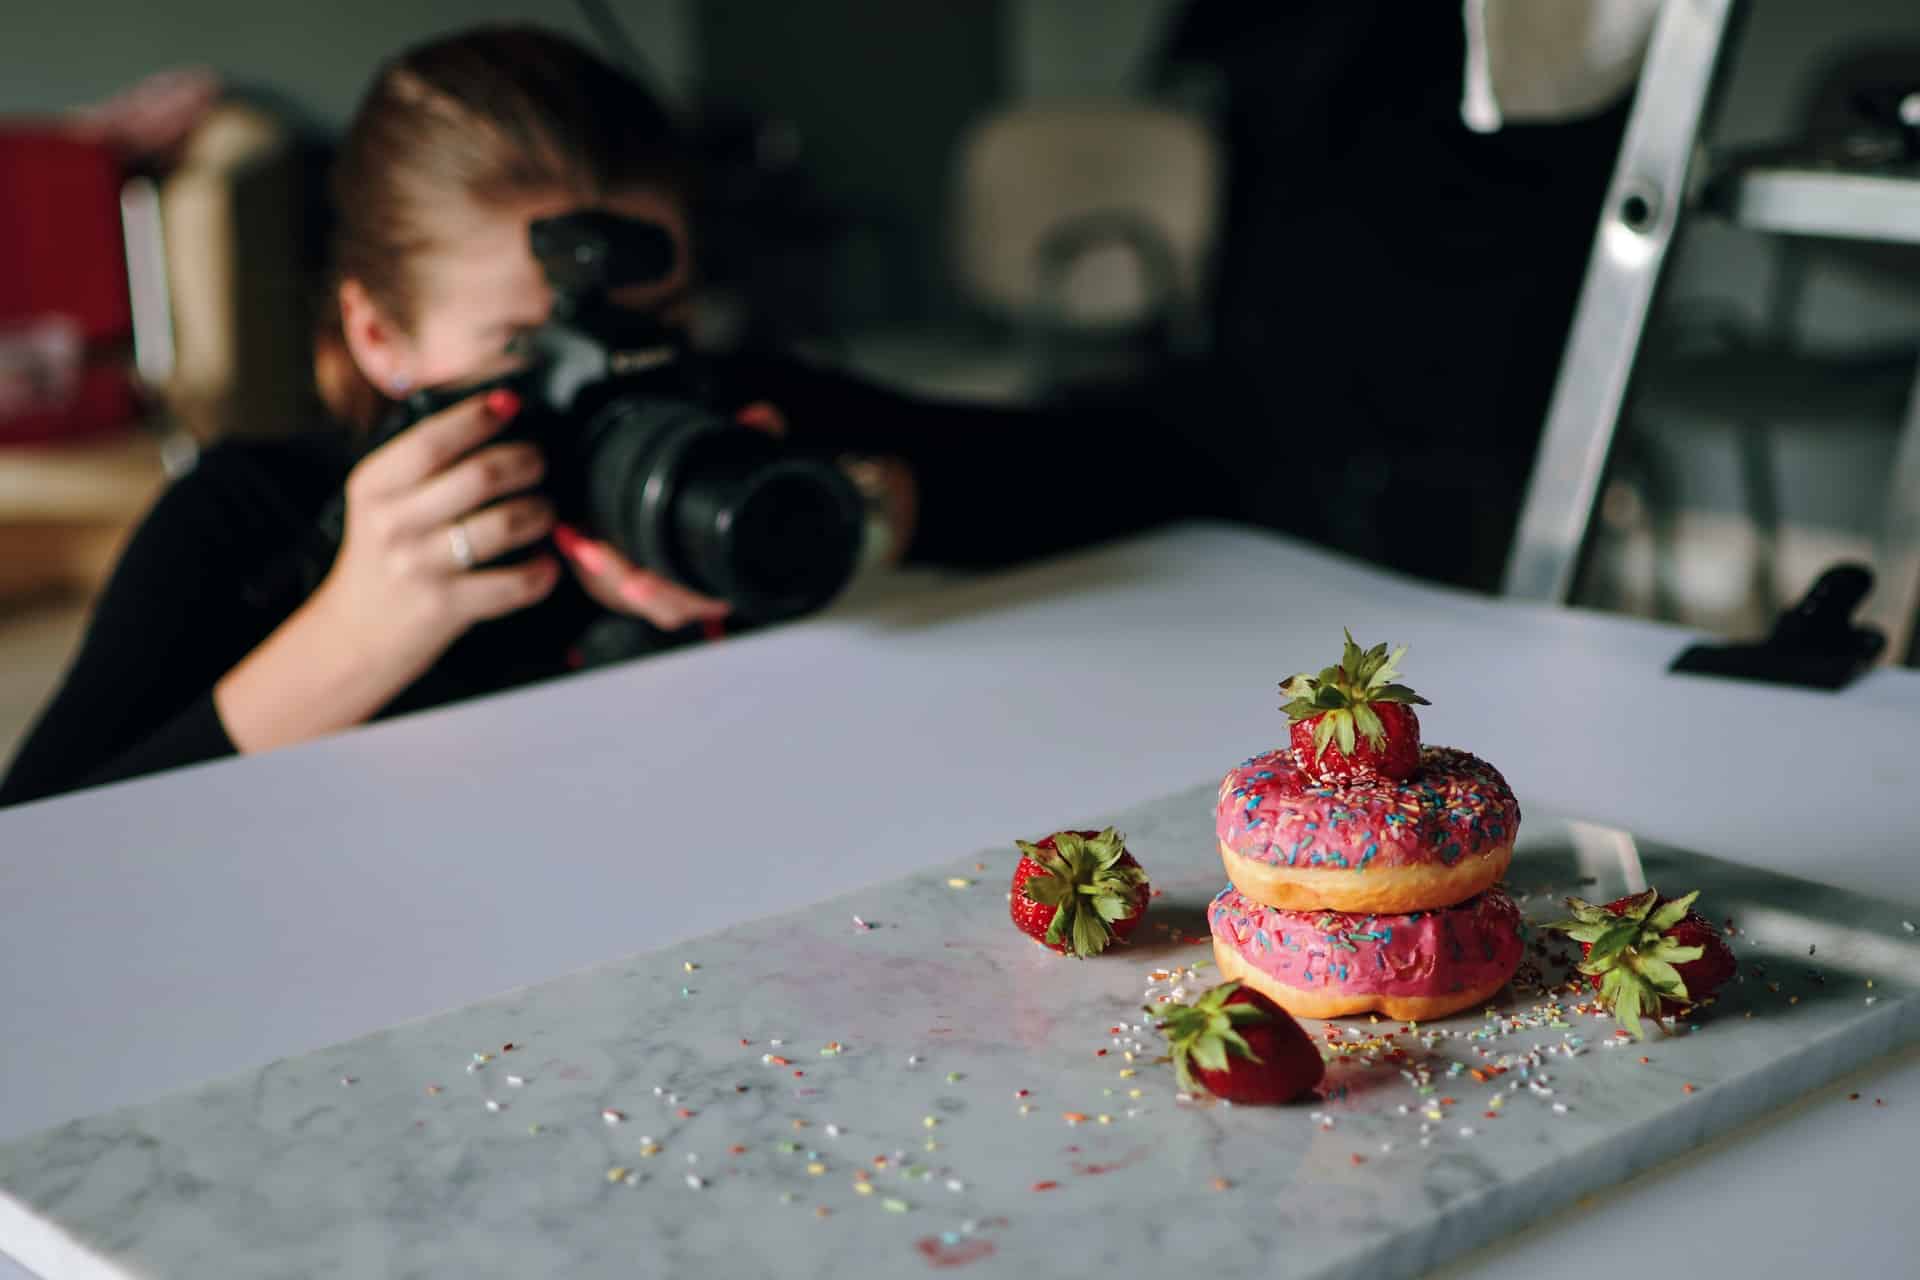
If you want to take clear and well-angled photos, tripods are a must. They keep your camera still, reducing overall shakiness, and allowing you to use manual focus. You may angle the camera any way you like on your tripod, without exerting immense effort to hold that angle. Also, once the camera’s position is secured, it ensures the perspective remains unchanged.
There are many different opinions on what the best cameras are for food photography. Even at an affordable price as long as you choose a camera with a good resolution you can get quality images.
As far as lenses are concerned, Prime lenses are the go-to for food photography, such as the ‘nifty-fifty’ (50mm Prime lens). They are great for food photography because they have much wider apertures, allowing the food to be the main focus instead of the background. Kit lenses on the other hand may cover a range of focal points however, they provide images that lack sharpness.
Lighting
Shooting with natural light spilling in from a big window in a dark room is perhaps the best way to achieve the soft glowy/dreamy aesthetic. Natural lighting is recommended especially for beginners who might struggle with the complications that come with using artificial lighting. However, shooting outside under the direct rays of the sun is not advisable. The harsh lighting results in unpleasantly bright photos as opposed to natural glowy ones. If the natural light isn’t bright enough, you can always use a DIY reflector to increase the brightness. The reflector can be a simple white surface (such as a craft store foamboard) held up against the dark shadows, reflecting light onto the food item.
Styling
Food styling is an important aspect of food photography. Depending on how you plate and present the dish, people will find it appetizing or unappetizing. Keep oil or water handy to brush or spray onto the foods if they start looking a bit dry or dull on camera. This will create specular highlights conveying the juicy quality of the food item. Have paper towels, sponges, and Q-tips ready to clean up any messes or simply touch up the food.
Use food coloring to make the dish really stand out as well as to add that additional pop of color it might lack. Also, another tip is to have a steamer hidden underneath or behind the food item. The rising steam gives the illusion that the food is freshly made and piping hot, making the picture seem more realistic and appetizing.
When people are casually scanning menus, these pictures will provide an eye-catching detail that will ultimately influence their final decisions. It will also increase their interest by adding a brand-new outlook to how the food item is perceived. For example, attractive visual representations of a dish can change people’s initial perception of it.
Backdrop
Choosing a good backdrop adds to the texture and dynamic of the picture without distracting you from the food item itself. The backdrop surface can be of any material and color, flat or textured, to match the cutlery and highlight the food (such as a simple marble or wooden table top). You can also buy photo-ready surfaces/tiles or you can DIY them at home.
This all may seem like a lot of work and a whole lot of trial and error, but with enough practice, these simple tips and tricks can improve your food photography instantaneously!
In conclusion, I think it’s safe to say that the proof of the pudding is no longer in the eating. In today’s social media-driven world, the proof of the pudding lies in posting an artistic picture of the gourmet dinner you ordered last night.
You can start professional photography on your own through BookThatStudio‘s Home Studio Kit. Order it online here.
To book a professional photographer you can read our blog on how to book professional photography here.
Leave a Reply